Ordering custom rigid boxes for the first time can feel confusing. You need to choose the size, material, design, and finish. You also need to compare prices and delivery times. The good news is that the process is simple when you follow the right steps. Here, we will explain how to order rigid boxes for your brand, from measuring your product to getting your boxes delivered.
A Step-by-Step Guide to Ordering Custom Rigid Boxes
Step 1: Know Your Product and Goals
Start by measuring your product’s length, width, and height. Check its weight and whether it can break easily. Then decide what you need the box to do. Should it protect a glass bottle, make a gift look special, or be useful after the product is removed?
These details help your supplier recommend the right box. They also help you get a more accurate price.
Step 2: Choose a Box Style
Rigid boxes come in different styles, and each one suits different products.
- Two-piece box: Has a separate lid and base. It works well for clothes, candles, and gift sets. Explore these Custom Rigid Boxes to find a style that fits your product and brand.
- Magnetic box: Uses a magnetic closure to keep the lid shut. It is popular for makeup, jewelry, and gadgets.
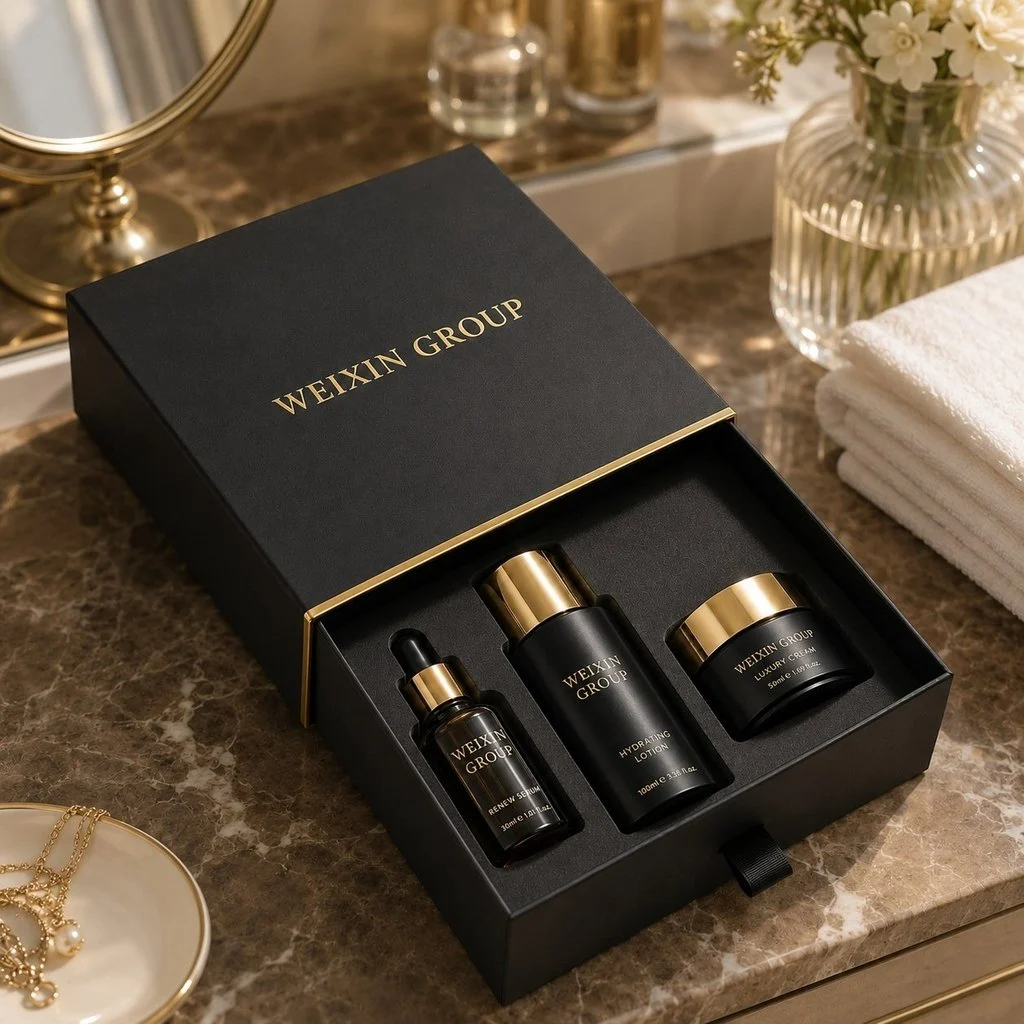
- Drawer box: Slides open like a drawer, and it suits watches, gifts, and subscription kits.
- Shoulder neck box: Has a raised part between the lid and base. It works well for perfume and premium drinks.
- Book-style box: It opens like a book, and it is a good choice for stationery and PR kits.
Choose a style that protects your product and gives customers a good first impression.
Step 3: Choose Materials and Finishes
Most rigid boxes use thick boards covered with printed or special paper, and the board is often 1.5 mm to 3 mm thick. You know a thick board can make the box feel stronger, but it may also cost more.
Next, choose how you want the box to look.
- Soft-touch coating: Gives the box a smooth, soft feel.
- Foil stamping: Adds a gold, silver, or colored design, often to a logo.
- Spot UV: Adds shine to a small part of the design.
- Embossing: Makes part of the design stand out from the surface.
You can also add an insert, such as foam or paperboard, to hold the product in place.
Our tip: Keep the design simple. One or two special finishes can make your box look premium without adding too much cost.
Step 4: Ask for Quotes
You should contact two or three suppliers to compare prices. Share your box size, order quantity, style, material, finish, and insert needs. Ask each supplier for a written quote that includes setup fees, tooling costs, and shipping.
Do not compare prices alone. Check the sample policy, delivery time, and how clearly the supplier answers your questions. The price depends on the number of boxes, box style, material, finishes, and inserts. Also, ordering in bulk boxes often lowers the price per box.
Step 5: Prepare Your Artwork
Ask your supplier for a dieline. A dieline is a flat template that shows where the box will be cut and folded. Use it to place your logo, text, and other design details.
Make sure your artwork has bleed. Bleed is extra color beyond the cut line that helps prevent white edges. Use clear, high-quality files so your design prints well. If your brand needs an exact color, ask the supplier about Pantone color matching.
Step 6: Check and Approve a Sample
Always check a sample before approving the full order. Look at the size, color, finish, and how the lid closes. Make sure your product fits properly and stays in place.
Even a small mistake can make the box difficult to use. Fixing the problem at the sample stage is easier and less costly than changing hundreds of finished boxes.
Step 7: Start Production and Plan Delivery
Once you approve the sample, the supplier can start making your boxes. At packagingDot, the production time is 8 to 12 business days.
Ask about production and shipping times separately. Rigid boxes can take up more space during shipping, so check whether they will come fully built or flat. Leave extra time for delays, especially if you need the boxes for a product launch.
Common Mistakes to Avoid
Avoid these common mistakes when ordering rigid boxes:
- Skipping the sample: A box that is too tight or too loose may not hold your product well.
- Ignoring shipping costs: Larger boxes can cost more to ship.
- Adding too many finishes: Too many effects can make the design look busy and increase the price.
- Forgetting the shipping carton: Your rigid boxes still need protection during delivery.
- Not checking material claims: If you need FSC-certified material, ask the supplier for proof of certification.
Quick Checklist Before You Order
You should use this checklist to prepare your order:
- Measure your product and check its weight.
- Choose a box style.
- Decide how many boxes you need.
- Set your budget.
- Prepare your logo and artwork.
- Confirm your deadline and delivery address.
- Ask about samples, shipping, and extra costs.
Having these details ready helps suppliers give you a clear and accurate quote. If you sell candles, you can also explore these Candle Boxes to find packaging that suits your product. Choose a box style that protects your items and gives customers a good first impression.
How Much Time Should You Allow for Your Order?
The time needed depends on your box style, order size, and finish. A simple box may take less time than a magnetic box with foil stamping and a custom insert. Plan for four stages: design, sample approval, production, and shipping. Leave extra time in case you need to make changes. If you are preparing for a product launch or a busy sales season, place your order early. Rushing can lead to missed checks and costly mistakes.
Summary
Ordering custom rigid boxes is easier when you follow a clear plan. Measure your product, choose the right style, compare quotes, and check a sample before approving the full order. Keep your design simple and allow enough time for production and delivery. These steps can help you avoid costly mistakes and get boxes that suit your brand.